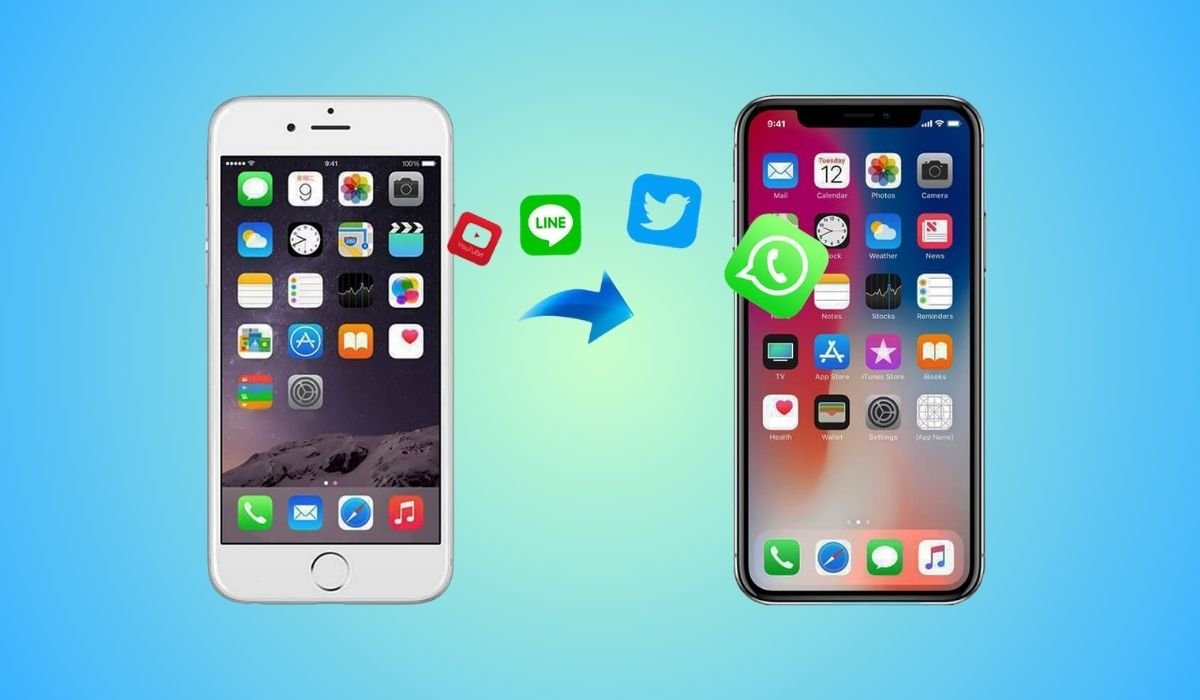
Upgrading to a new iPhone is exciting, but transferring all your data can seem daunting. Whether you’re switching to the latest iPhone 15 or a different model, moving your data is crucial for a seamless transition.
Quick Start offers a wireless method to transfer data. Ensure your current device is connected to Wi-Fi with Bluetooth on. Turn on your new device, place it near the old one, and follow the onscreen instructions.
For those without access to their old device, iCloud provides a wireless solution. iTunes or Finder offers a wired alternative. Third-party software can provide additional features for data management and transfer.
Key Takeaways
- Back up your old iPhone before starting the transfer process
- Quick Start is the easiest method for transferring data directly between two iPhones
- iCloud offers a wireless solution for transferring data, ideal for those without access to their old device
- iTunes or Finder provides a wired alternative for data transfer
- Third-party software can offer additional features for data management and transfer
- Troubleshooting steps are available for common transfer issues
Can I Transfer Data From iPhone to iPhone?
Yes, you can transfer data from one iPhone to another. Apple provides several built-in methods to make this process smooth and straightforward. Additionally, there are third-party options available for more specific needs.
Preparing for the Transfer
Backup Your Old iPhone
Before initiating any transfer process, it’s crucial to back up your old iPhone. This ensures that all your data is safely stored and can be recovered if anything goes wrong during the transfer.
Using iCloud
- Connect your iPhone to a Wi-Fi network
- Go to Settings > [your name] > iCloud > iCloud Backup
- Tap “Back Up Now” and wait for the process to complete
Using iTunes/Finder
- Connect your iPhone to your computer
- Open iTunes (on Windows or macOS Mojave and earlier) or Finder (on macOS Catalina and later)
- Select your device when it appears
- Click “Back Up Now” and wait for the process to complete
Ensure Both Devices are Ready
To ensure a smooth transfer process:
- Update both iPhones to the latest iOS version
- Ensure both devices are charged to at least 50%
- Connect both devices to a power source if possible
- Have your Apple ID and password ready
Methods to Transfer Data
1. Using Quick Start
Quick Start is the most straightforward method for transferring data directly between two iPhones.
Here are simple steps:
- Turn on your new iPhone and place it near your old iPhone
- On your old iPhone, you’ll see a popup asking if you want to set up the new iPhone. Tap “Continue”
- An animation will appear on your new iPhone; use your old iPhone to scan it
- Follow the on-screen instructions to set up Face ID or Touch ID on your new iPhone
- When prompted, enter your old iPhone’s passcode on your new iPhone
- Choose “Transfer Directly from iPhone” when asked how you want to transfer your data
- Keep both devices close together and plugged in until the transfer is complete
Pros:
- Direct transfer without need for iCloud or computer
- Transfers almost all data and settings
- Relatively quick process
Cons:
- Requires both devices to be present
- Can take some time for large amounts of data
2. Using iCloud
iCloud is an excellent option if you don’t have access to your old iPhone or prefer a wireless method.
Here are simple steps:
- Ensure your old iPhone is backed up to iCloud
- Turn on your new iPhone and begin the setup process
- When prompted, choose “Restore from iCloud Backup”
- Sign in with your Apple ID
- Select the most recent backup of your old iPhone
- Wait for the restoration process to complete
Pros:
- Can be done without access to old device
- Wireless and convenient
- Restores most data and settings
Cons:
- Requires sufficient iCloud storage
- Can be slow depending on internet speed
- May not transfer all app data
3. Using iTunes or Finder
For those who prefer a wired connection or have limited internet access, iTunes (or Finder on newer Macs) is a reliable option.
Here are simple steps:
- Connect your old iPhone to your computer
- Open iTunes (or Finder)
- Select your device when it appears
- Click “Back Up Now” to create a backup
- Once complete, disconnect your old iPhone and connect your new iPhone
- Select your new iPhone in iTunes/Finder
- Click “Restore Backup” and choose the backup you just created
Pros:
- Faster than iCloud for large amounts of data
- Doesn’t require internet connection once backup is created
- Can transfer almost all data and settings
Cons:
- Requires a computer and cable
- Can be time-consuming
- May require updating iTunes or macOS
4. Using Third-Party Software
There are various third-party apps and software solutions that can help transfer data, often with additional features.
Popular Options:
- AnyTrans
- Offers selective data transfer
- Can transfer data between iOS and Android
- dr.fone – Phone Transfer
- Allows direct phone-to-phone transfer
- Supports various data types
General Steps:
- Download and install the chosen software on your computer
- Connect both iPhones to the computer
- Follow the software’s specific instructions for data transfer
Pros:
- Often offers more control over what’s transferred
- May include additional features like data management
- Can sometimes transfer data not covered by Apple’s methods
Cons:
- May require purchasing the software
- Potential privacy concerns with third-party apps
- Can be complex for non-tech-savvy users
Transferring Data Without Internet
If you’re in a situation without internet access, you can still transfer some data using these methods:
- AirDrop: For transferring photos, videos, and other files directly between devices
- Bluetooth: For transferring contacts (though this is less common with iPhones)
- SIM card: For transferring contacts stored on the SIM (limited and not recommended for modern iPhones)
Troubleshooting Common Issues
Even with these straightforward methods, you might encounter some issues. Here are solutions to common problems:
Transfer Stuck or Taking Too Long
- Ensure both devices have sufficient battery and are plugged in
- Check that both devices are close together and not obstructed
- Restart both devices and try again
- If using iCloud, check your internet connection
Not Enough Space on New iPhone
- Try using iTunes/Finder method instead of iCloud
- Delete unnecessary data from the backup before restoring
- Consider upgrading your iCloud storage temporarily
Apps Not Transferring
- Ensure you’re signed in with the same Apple ID on both devices
- Check if the apps are still available on the App Store
- Manually download missing apps after the transfer
Missing Photos or Messages
- Check that iCloud Photos and Messages are enabled on both devices
- Ensure you’re signed in to the same iCloud account on both devices
- Wait for iCloud to finish syncing (can take some time)
Activation Lock Issues
- Ensure you know the Apple ID and password associated with the old device
- If you’ve forgotten the password, use Apple’s account recovery process
- If the device was given to you, ask the previous owner to remove it from their account
Can I transfer data from an iPhone to an iPad using these methods?
Yes, you can transfer data from an iPhone to an iPad using similar methods. Here’s a quick overview:
- iCloud: Back up your iPhone to iCloud, then restore the iPad from this backup during setup
- iTunes/Finder: Create a backup of your iPhone, then restore the iPad from this backup
- Quick Start: Works between iPhone and iPad, similar to the iPhone-to-iPhone process
- Third-party software: Many apps support transfers between iPhone and iPad
Keep in mind that while most data will transfer, some app-specific data may not be compatible between iPhone and iPad versions of the same app.
Frequently Asked Questions (FAQ)
How do I transfer everything from my old iPhone to my new iPhone?
To transfer everything, use the Quick Start feature. Place your new iPhone near your old one, follow the on-screen instructions, and choose “Transfer Directly from iPhone.” This method transfers all data, settings, and apps wirelessly, ensuring a seamless transition to your new device.
How to transfer data from iPhone to iPhone without iCloud?
You can transfer data without iCloud using iTunes or Finder. Connect your old iPhone to a computer, create a backup, then connect your new iPhone and restore from that backup. Alternatively, use the Quick Start method, which transfers data directly between devices without using iCloud.
How to sync iPhone to iPhone?
Syncing iPhones is best done through iCloud. Ensure both devices are signed in to the same Apple ID and have iCloud sync enabled for desired content (contacts, photos, etc.). Your data will automatically sync across devices when connected to Wi-Fi, keeping information up-to-date on both iPhones.
How do I transfer photos from my iPhone to my iPhone?
To transfer photos, use iCloud Photos. Enable it on both devices under Settings > [Your Name] > iCloud > Photos. Your photos will sync automatically. Alternatively, use AirDrop for quick transfers of selected photos, or create a backup of your old iPhone and restore it to the new one.
How to transfer photos from iPhone to iPhone wirelessly?
For wireless photo transfer, use AirDrop. On both iPhones, ensure Wi-Fi and Bluetooth are on. In the Photos app, select the photos you want to send, tap the share icon, choose AirDrop, and select the receiving iPhone. The recipient can then save the photos.
How to AirDrop iPhone to iPhone?
To use AirDrop, ensure both iPhones have Wi-Fi and Bluetooth on. On the sending iPhone, select the content you want to share, tap the share icon, and choose AirDrop. Select the receiving iPhone from the list of nearby devices. The recipient then accepts the transfer.